Monday, March 12, 2012

After Bath Wrap

This round of Iron Craft is all about the Dollar Store.
The goal was to make something using all or mostly things bought at the dollar store.
I've already made many crafts that fit that criteria that I could revisit, but of course as much as possible want to try something new.
I'm actually in the process of making a second craft that falls within those guidelines but this one was my main goal.

I decided to make an after bath wrap for babies/toddlers.

 When I went to the Dollar Tree I found they have micro-fiber cloths. I bought two that measured 16 inches by 19 inches. Other then that all you need is a wash cloth and some thread (both of which can also be found at dollar stores). Maybe a bit of felt if you want some decoration.

I started by cutting about 2 and 1/2 inches off the long side of both micro-fiber cloths.
 Then I matched the two edges I just created and sewed the two cloths together.

Next I sewed the two strips together at the short ends and matched the seams up with the seam of the two larger cloths.
I pinned the thin strips down to create ruffles and sewed them down.


For the hood I used a wash cloth and matched the center of it to the seam of the micro-fiber cloths and sewed across.

At the top of the wash cloth I sewed the ends together then pressed the excess down and sewed again so that they didn't stick out.


To add a little extra cute I hand sewed on a felt cut out of a bathtub, some bubbles and a rubber ducky.

The micro-fiber is extra soft so you can wrap up your baby in a soft towel to dry off with!

Friday, March 09, 2012

Deiciocity Friday: Nearly Chocolate Overload Cupcakes

Yellow cupcakes with chocolate chips, chocolate chip cream cheese filling and chocolate frosting.
These would be chocolate overload except I used yellow cake mix. You could easily go all out and make everything chocolate by using chocolate cake mix.

Cake:
Yellow cake mix
Ingredients required on cake box
1/2 cup chocolate chips

Filling:
8oz cream cheese
1 egg
1/3 cup white sugar
1 cup chocolate chips
Dash of salt

(also need frosting of choice)

Start by making the filling. Allow cream cheese to get to room temperature. Meanwhile chop the chocolate chips up, either by hand or via a food processor. Using a beater, mix the cream cheese and egg. Once mixed add in the sugar and salt. Finally fold in the chocolate chip pieces.
 Set aside.

Preheat your oven and prepare your cupcake pans as directed. 
Mix your cake mix like normal, when finished gently fold in your chocolate chips.

Begin filling your cupcake liners. Fill about 2/3rds full of cake mix. Do not go over or you'll end up with mushroom cloud cupcakes. Then add about a tablespoon of your filling on top of the cake batter.
This should make more then the usual 24 cupcakes so be prepared for that.


Bake as directed, allow to cool then frost.
Makes a moist cream cheese cupcake that is oh so delicious!

Wednesday, March 07, 2012

Easy No Fray Tote Bag

Okay, I'm packing up my items for Craft Hope tonight so this should be it.
For a little while at least!
Mail your bags and hats for Craft Hope no later then March 12th. Check their blog for address.

This is a quick and simple tote bag that would be great for coloring books, church quiet activities, etc.

I started with a piece of fabric that measured 32 inches by 13 inches.

I folded the fabric in half and sewed up both sides. (your fabric should be wrong sides together for this sew)

Then I turned it inside out and sewed up the sides again, this time sewing in enough to encase the edges that had be previously sewed.

When turned back right side out the edges of the fabric was now sewed into hiding and would not be fraying or giving away.

Next I cut two pieces that were 13 inches long by 2 inches wide. 

I ironed the long edges over then sewed on a one and a half inch wide piece of ribbon. This added an extra pretty and uniqueness but it would also work to just cut your strips about 4 inches wide and folding in half to sew.

For the top I folded down about a half inch then folded again and sewed around. 

I sewed the handles on with many passes about 2/3rds across the opening of the bag.

If you have an appliqué that would match your recipient you could iron it on the outside. Or sew on a small pocket for things like pencils or the like.  

Monday, March 05, 2012

No Sew Hat

I've done multiple posts about craft hope lately. 
And I'm not done! 
:)

The current round of Craft Hope is hats and bags for kids battling cancer.
These are things I got!
The turn in for this round is approaching soon so I'm probably done creating and going to mail out what I've made but there is still a little time to create something to send.

I've shown you some hats that have little sewing but this one has -no- sewing.
You'll need to cut your fabric at least four inches longer then you need it to fit around the head you are making it for.
Also cut two to four inches taller then you need for normal fit.

Fold your fabric in half length wise.
Using either scissors or a rotary cutter to cut strips that are at least two inches long and about an inch thick. These strips should go up the side of your hat.

Now tie the strips together, closing the hat into a circle.

If you are making for a guy you may want the ends of the knots to be on the inside of your hat so that the fringe is not overly visible. But you can have them stick out whatever side you prefer.

Next gather the top up and tie with a piece of ribbon, yarn or strip of fabric.


The bottom of the hat can be rolled up to "finish" the look or make it fit better.

That's all!
A strip of fabric, some scissors and a piece of ribbon and you have a cute hat.

Friday, March 02, 2012

Deliciocity Friday: Home Made Quesadilla's

I love a lot of food from Taco Bell but my wallet does not agree with my tummy's interest in visiting there often.

I created my own recipe of quesadilla's a few years ago and everyone that I've made them for has said they love them.

An extra plus is that they are fairly easy to make and can be tweaked to fit the taste of each person very easily.

Ingredients:
Tortilla shells
Taco seasoning powder
Cheese
Taco packets
Meat if wanted

I use my largest skillet so that the tortilla shell can lay flat.
Keep the temperature very low, usually about a 3 at most.

Pour some taco powder into a small bowl and mix with a few drops of water.
The amount pictured will be enough for two maybe three quesadilla's.

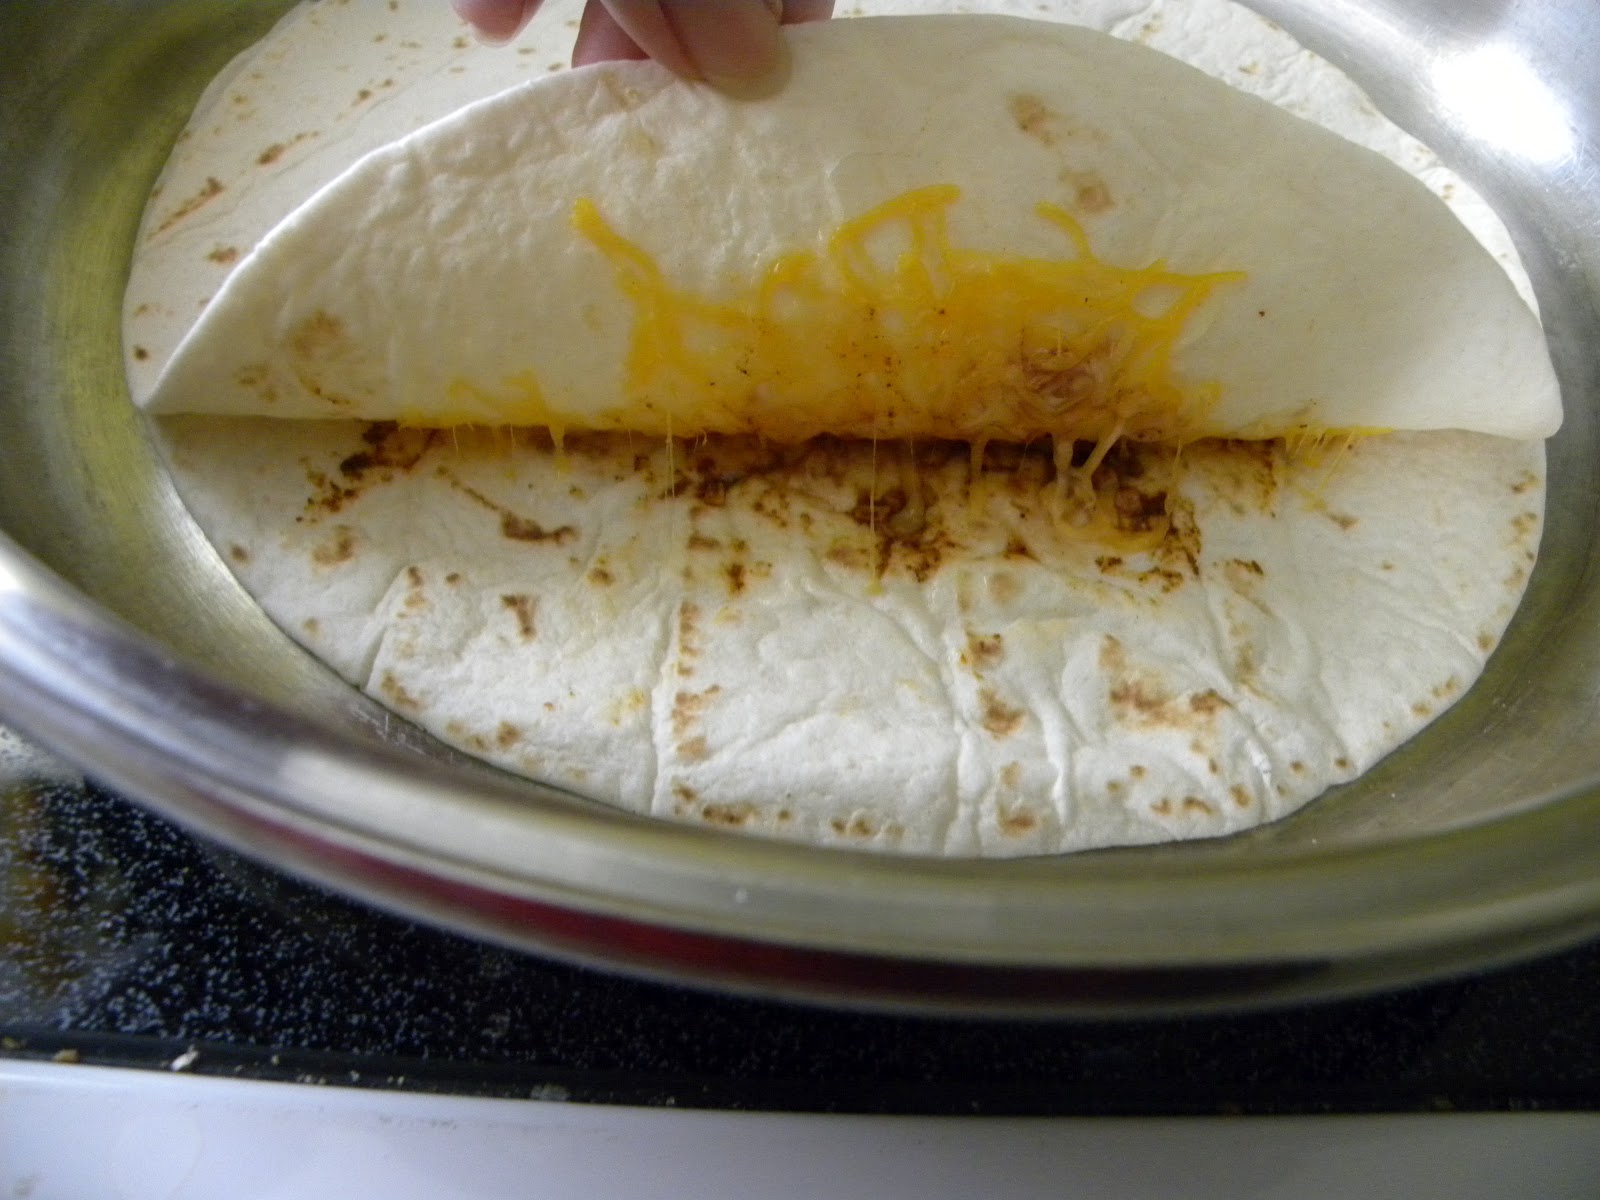
Put a tortilla shell in the pan and sprinkle on shredded cheese. 
For the top tortilla shell use a knife to spread the powder mixture on one side of the shell.

Using the packets of sauce sprinkle on as much as you want. The more packets used the hotter the flavor.

If you want a meat it should be precooked and added on top of the cheese.

Put the second shell on top, seasoning side in towards the cheese.

After letting it all sit for a moment use a spatula to flip and allow to sit a little longer.
Remove and cut with a pizza cutter.