
This round of Iron Craft had to do with boxes.
Craft something that is boxed themed.
I kept coming back to the paper boxes I used to love to make in 5th grade.
I spent all my free time making those boxes.
I even created a "Russian Doll" effect out of paper boxes, going from smaller then the end of my pinky finger to a box 4-5 inches across.
I haven't even thought about these boxes in _years_ but they kept coming to mind and I wondered if I still remembered all the steps.
Turns out I do!

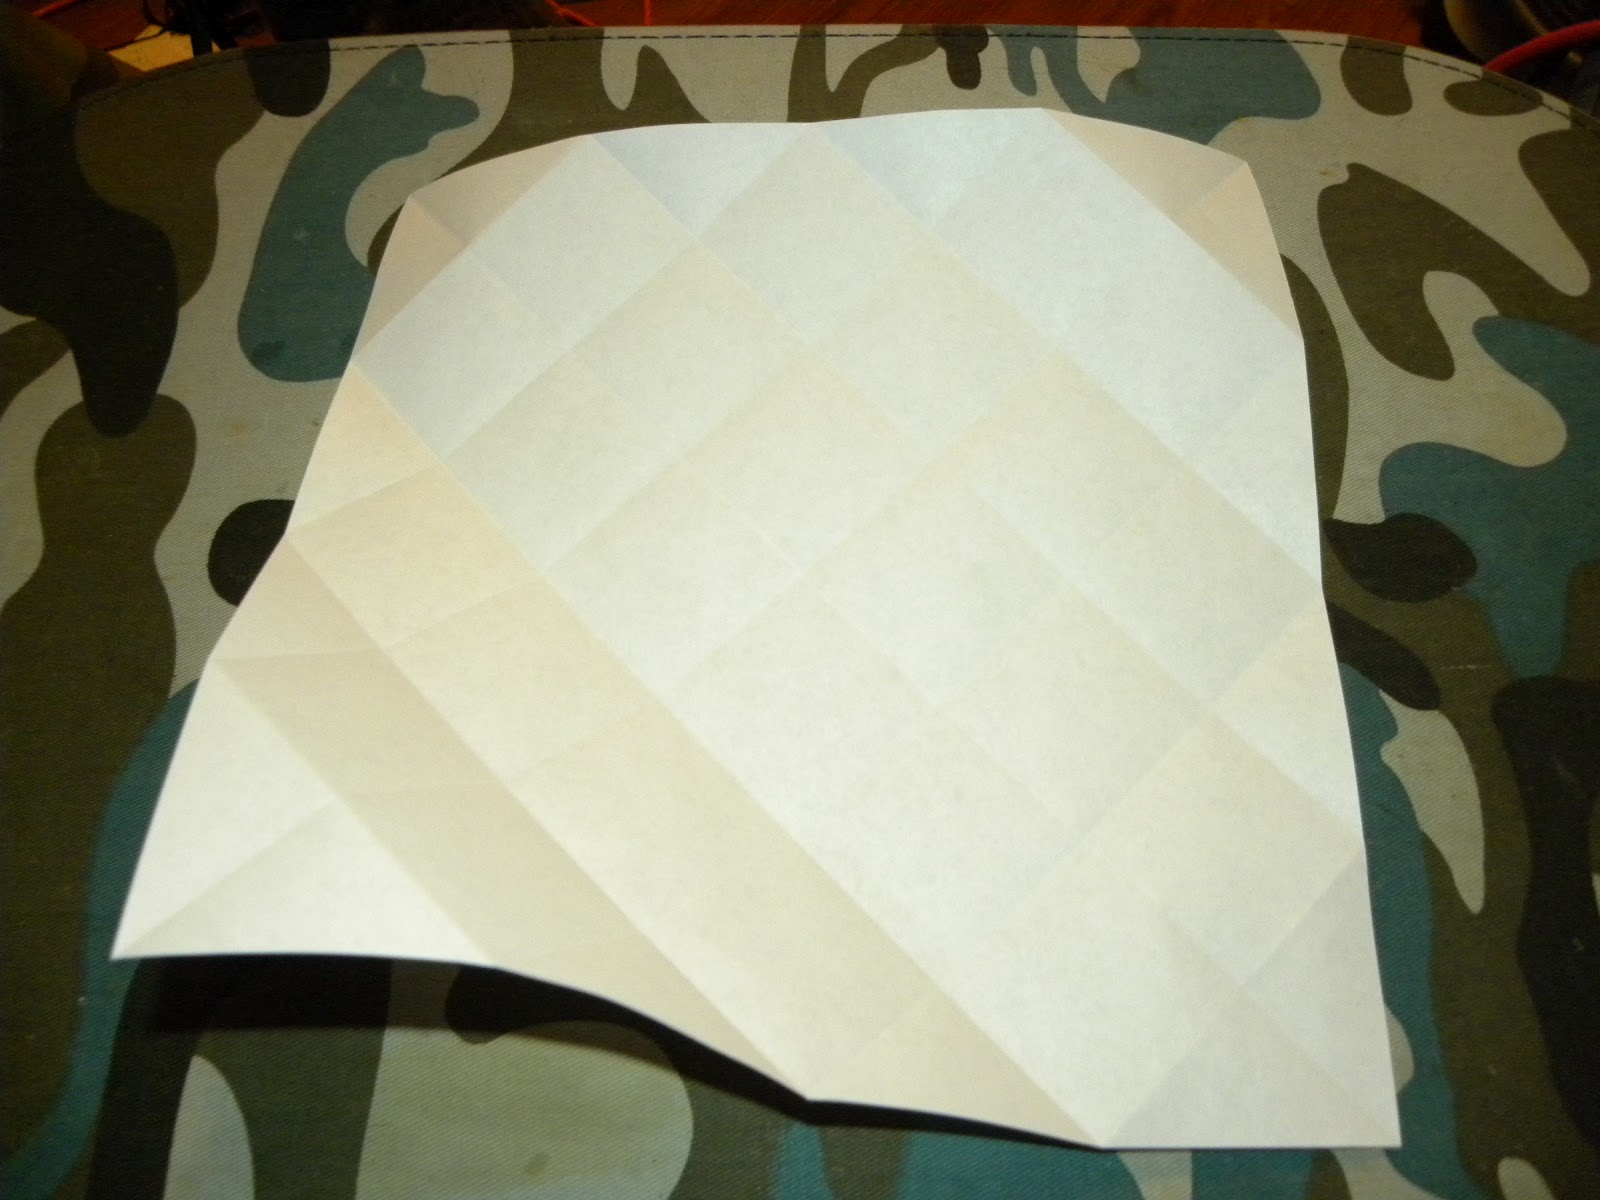
Start with a regular 8x10 sheet of paper.
Fold diagonally from one corner and cut off the excess of the paper so that you get a square of paper.

Unfold your original fold and make an identical fold on the other corners. Crease then unfold.
Your square should have four triangles made via creases in the paper.

Take two opposite points and fold into the middle of the paper.

Then fold in again.

Now unfold and do the same to the other two points.
And unfold. Sounds weird I know but now you have a square of paper with little square creases all over it. Now it starts getting complicated to explain. Hopefully the pictures clear it up.
Pick two opposite corners, move out one square from the corner and make a straight cut going in two squares. Do the same on the other side of your point and across from the two cuts.
 |
| See the little gray lines? You'll cut there. |
Now fold in the two corners you did not cut, in two squares. And fold the outer sides of that in twice to create "flaps".

Now the points where you did cut will fold in and over your flaps.

Just a little stick glue or tape will hold everything in place.

And there you have a small paper box. If you make it with more sturdy paper or scrapbook paper you could use it as a pretty box for odds and ends (hair clips). These I'll probably put a little note for my hubby.
Wow, I never learned to make those as a kid
ReplyDelete