Showing posts with label paper. Show all posts

Monday, May 07, 2012

Iron Craft Think Inside The Box

This round of Iron Craft had to do with boxes.
Craft something that is boxed themed.

I kept coming back to the paper boxes I used to love to make in 5th grade.
I spent all my free time making those boxes.
I even created a "Russian Doll" effect out of paper boxes, going from smaller then the end of my pinky finger to a box 4-5 inches across.

I haven't even thought about these boxes in _years_ but they kept coming to mind and I wondered if I still remembered all the steps.

Turns out I do!

Start with a regular 8x10 sheet of paper.
Fold diagonally from one corner and cut off the excess of the paper so that you get a square of paper.

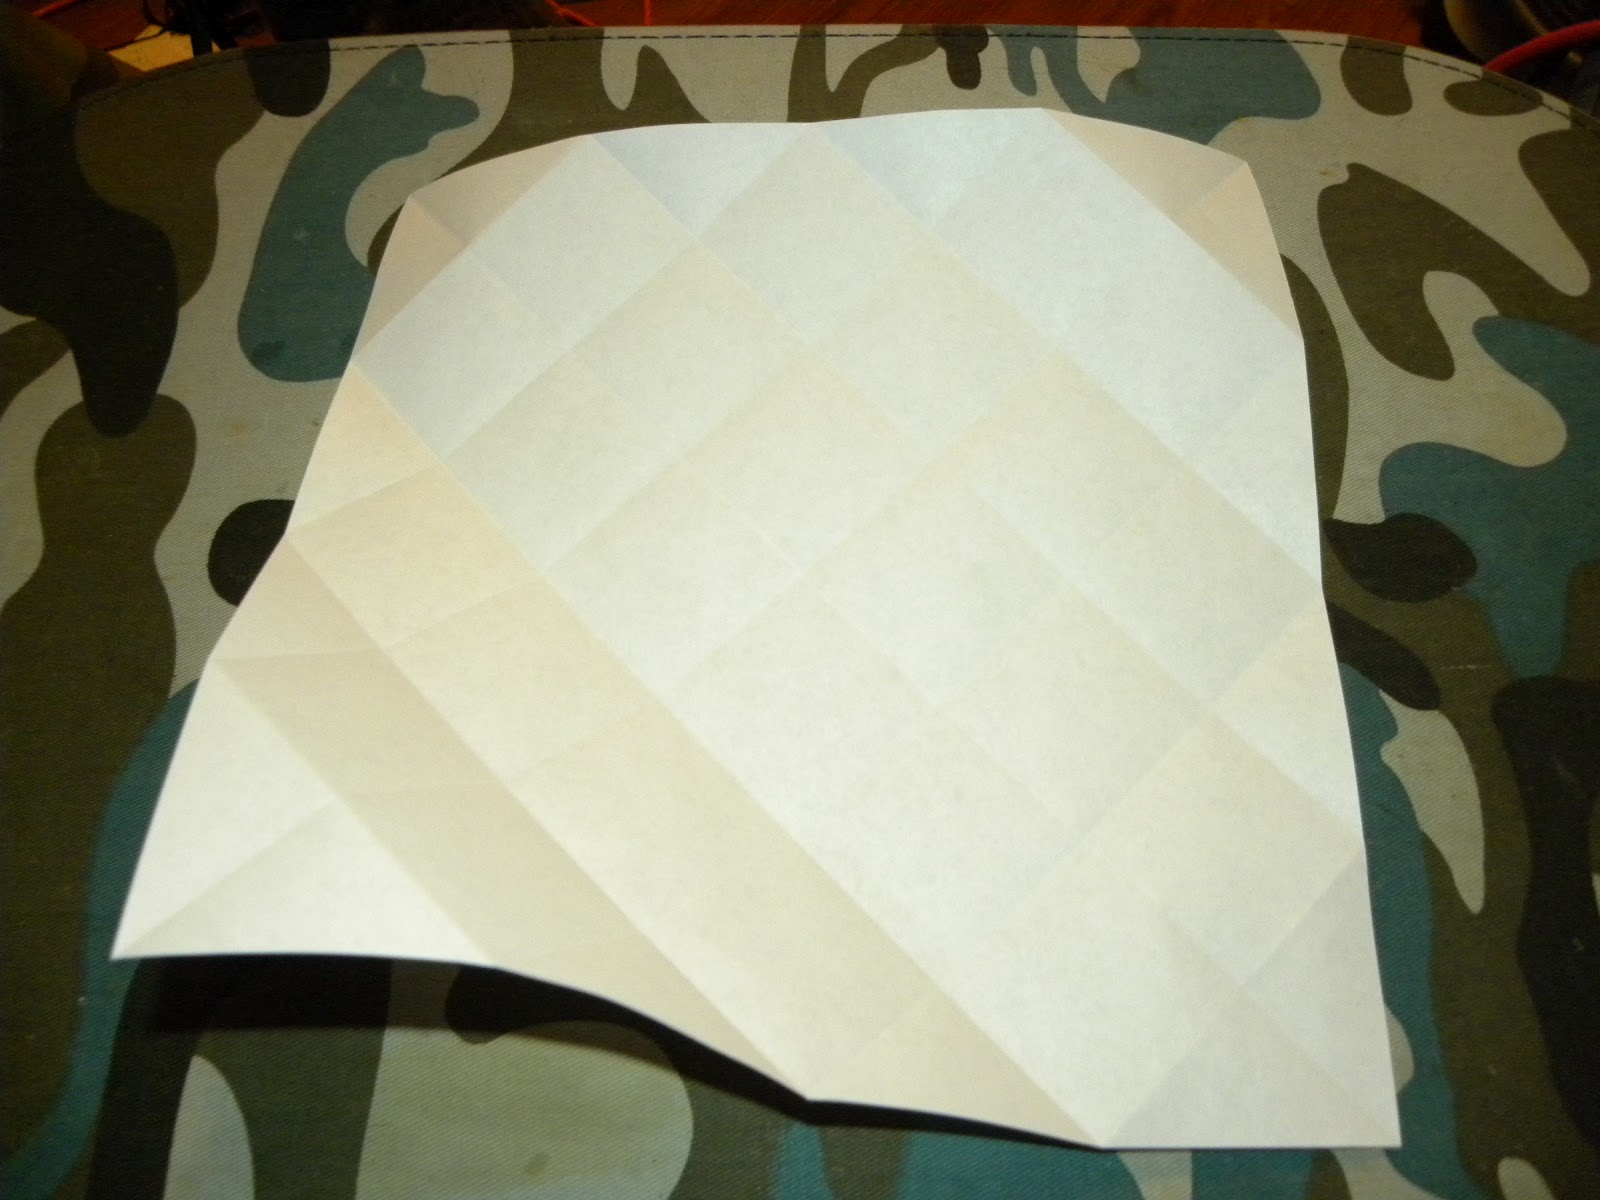
Unfold your original fold and make an identical fold on the other corners. Crease then unfold.
Your square should have four triangles made via creases in the paper.

Take two opposite points and fold into the middle of the paper. 

Then fold in again.

Now unfold and do the same to the other two points.

And unfold. Sounds weird I know but now you have a square of paper with little square creases all over it. Now it starts getting complicated to explain. Hopefully the pictures clear it up.
Pick two opposite corners, move out one square from the corner and make a straight cut going in two squares. Do the same on the other side of your point and across from the two cuts.
See the little gray lines? You'll cut there.

Now fold in the two corners you did not cut, in two squares. And fold the outer sides of that in twice to create "flaps".

Now the points where you did cut will fold in and over your flaps.

Just a little stick glue or tape will hold everything in place.

And there you have a small paper box. If you make it with more sturdy paper or scrapbook paper you could use it as a pretty box for odds and ends (hair clips). These I'll probably put a little note for my hubby.


Monday, January 23, 2012

Bookmarks

Today's post is later then usual for two reasons.
1) Yesterday, after a little over three years of service, my netbook decided it was done... 
A moment of saddened silence...

I know it's just a computer but it was great for me. I'm now borrowing Hubby's laptop, it is so not the same.
2) Last night some very strong storms came through. Since I didn't go to sleep before they started, I stayed awake till after they were done. At 2am...
So naturally, I slept in this morning.
Anyway, without further ado, today's post:

I don't know why but I have the hardest time keeping track of my bookmarks.
I finish a book, I lay the bookmark down where I was last reading, I return later for it and it's no where to be found.
My husband never reads so I know he isn't borrowing them. They just disappear.
I've bought bookmarks, I've been given bookmarks, I use receipts or anything that is near. But nothing sticks around. 
The best luck I've had was with my two of hearts from a deck of cards. 
("the two of hearts to mark her place, and who could ever walk away, from chapter twenty one, so she can't be really gone" name that song, hehe)

So recently I decided to make a few different bookmarks. Some for gifts, some to have all over and up my chances of finding one when I need them.


The first one was a cross stitch I did.
I cut a cross stitch fabric piece about 6 inches long and 2 inches wide. I cross stitched a sitting frog, the initials F.R.O.G. for the words "Fully Rely On God". I then covered the back with a simple green fabric, that folds around to the front, and finished with a green ribbon.

The second one is a ribbon bookmark. I cut a strip of ribbon long enough to go through most books and using bookmark clasps added a thin ribbon on top and a dove charm on the bottom.

The third bookmark is paper. I cut a two and a half inch wide strip from the side of a piece of card stock paper. I folded that in half and covered the front with a piece of old sheet music. I used shaped hole punches to add the shapes on front and back. I also cut a small strip of magnet off a roll and put a piece on both insides to create a magnetized bookmark that will hold a book page.

The last one is made of fabric. I cut two pieces about 5 inches long and 2 and 1/4 inches wide. I used a fancy setting on my sewing machine to do a serger effect around the outsides. Alternatively you could sew normally and use a fray check to stop the fabric from fraying. This one has two different heart fabrics for front and back so I used a heart decorated ribbon to finish it off.  


This shows a few different options for creating bookmarks that won't cost much at all. The cross stitch one takes some time but all the others are fairly quick to make. So if you often loose your bookmarks like I do, whip up a few and stash them around the house. Maybe then you can throw out that grocery receipt instead of using it as a bookmark!

Monday, January 09, 2012

Paper Butterflies

If you have been to my house you know that I have some decorations that are directly on the wall.
The flames painted above the thermostat, the cherry blossom tree painted in the living room and the dice painted game room door just to name a few.

My newest edition is a collection of butterflies flying across the wall in the game room/library.
I took some book pages created from this project: book safe
And some old music sheets like were used in this project: music love 

I mostly hand sketched the butterflies on to the paper, then cut them out. 
I bent the wings up and attached a strip of double sided tape to the body and stuck them directly to the wall. 


Just to the right of these pictures are my bookcases and the framed "music love" piece I created so these butterflies are flying from the books and up and over the door. 


Of course if you doubt your drawing abilities you could use one of the fancy cutting machines (I don't have one but I'm sure they'd have a way to make this faster) or you could trace butterflies off something else.

Let your imagination take flight!